Set up Stripe Products
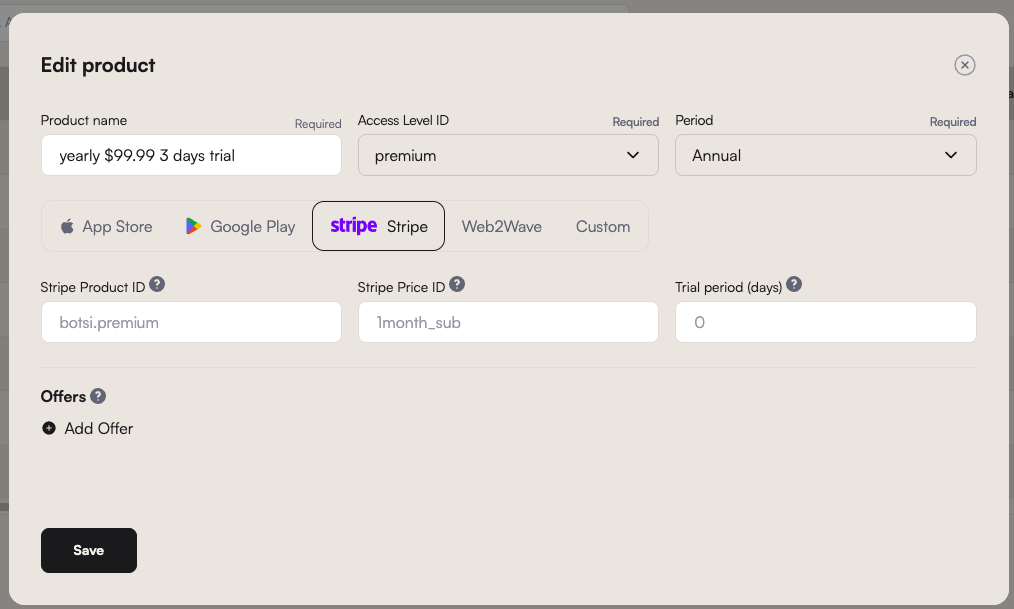
Botsi treats Stripe like any other store: you create the product in Stripe, then register its identifiers in Botsi so a purchase maps to an Access Level. This page covers the Stripe side and the two IDs you need to carry across.
A Stripe product not registered in Botsi produces no events
Botsi only tracks transactions for Products configured in the dashboard. A Stripe product that exists but was never added to Botsi generates payments that create nothing: no event, no Profile update, no analytics.
Do not treat this step as optional bookkeeping. It is what makes the transaction visible at all.
Creating a product in Stripe#
Enable Test mode in Stripe first if you are configuring a sandbox setup.
- In the Stripe Dashboard, go to Product catalog.
- Choose + Create product.
- Enter the product name, and optionally a description and image.
- Select a pricing model:
- Recurring: charges regularly, for subscriptions.
- One-off: charges once, for a single purchase.
- Set the amount and currency.
- Select the billing period.
- Choose Add product.
Optional fields#
More options adds:
Metadata is where customer_user_id goes. See Stripe Webhooks for why it matters.
Additional pricing plans#
More pricing options lets one product carry several prices, so you do not need a separate product per plan:
Under Advanced, add a price description, and a Lookup key, a unique identifier you define for referencing that price in code or API calls.
Finding the Product ID and Price ID#
- Open the Stripe Product catalog and select a product.
- Copy the Product ID from the Details section.
- Open the meatballs menu (three dots) and choose Copy price ID.
Adding them to Botsi#
Follow Products, select Stripe as the platform, and enter the Stripe Product ID and Stripe Price ID in the fields that appear.